Create a Regular Campaign
Creating an email marketing campaign to send your newsletter with Sendarmy is very simple. In this article, you will find detailed steps to create a new campaign, select subscribers, choose and edit a template, and submit it.
Create a new campaign
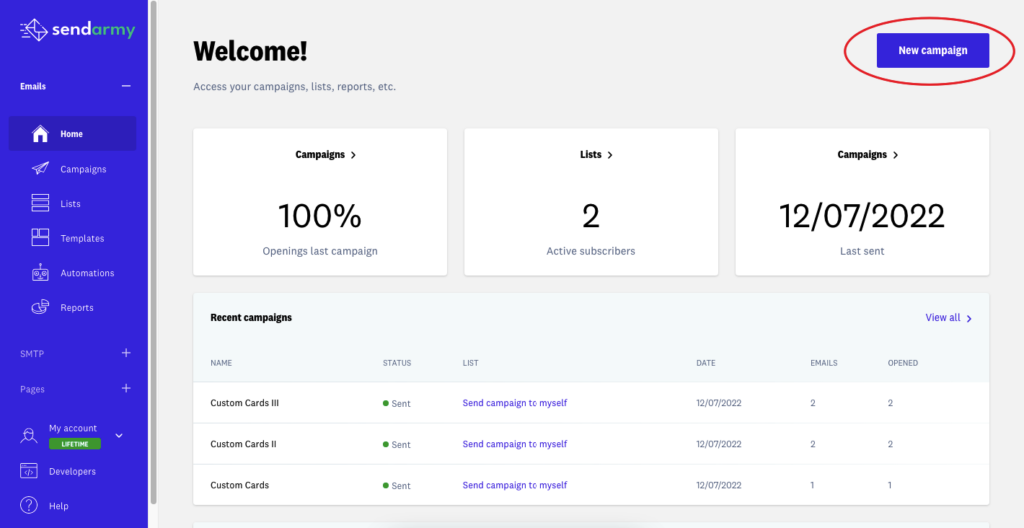
From the Dashboard, click the New campaign button.
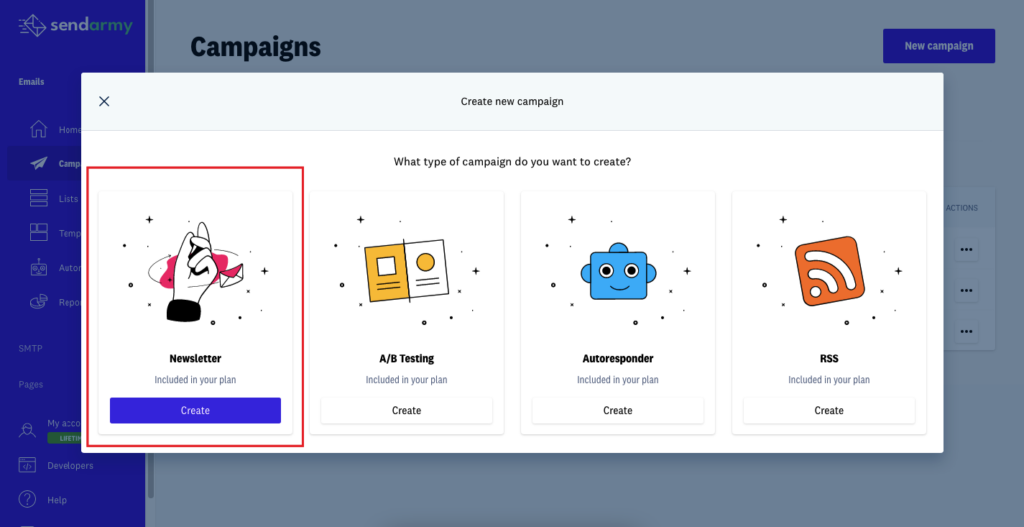
Then, you will be prompted to choose the type of campaign you want to create. Select Newsletter.
Steps for creating a campaign
Step 1: General settings
In this first step, you will need to configure the general aspects of the campaign, which are as follows:
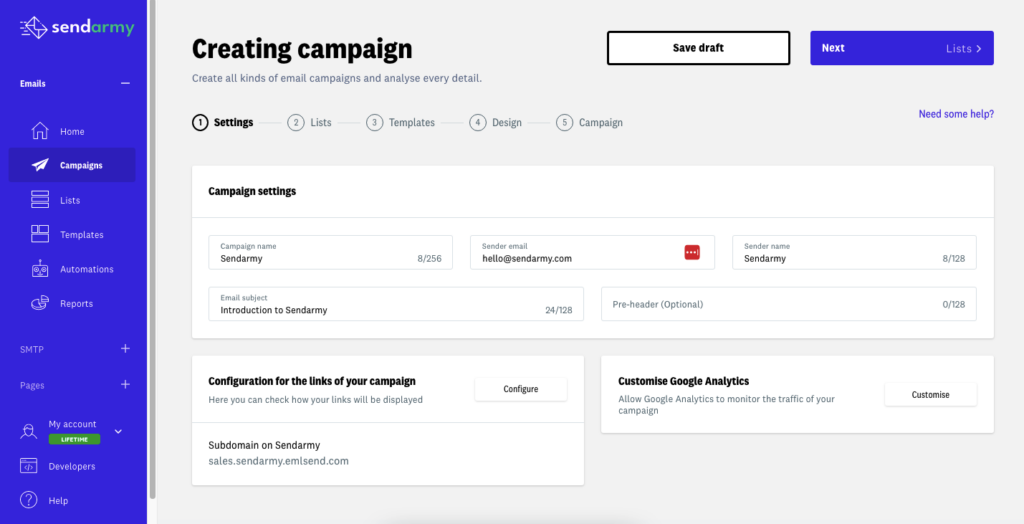
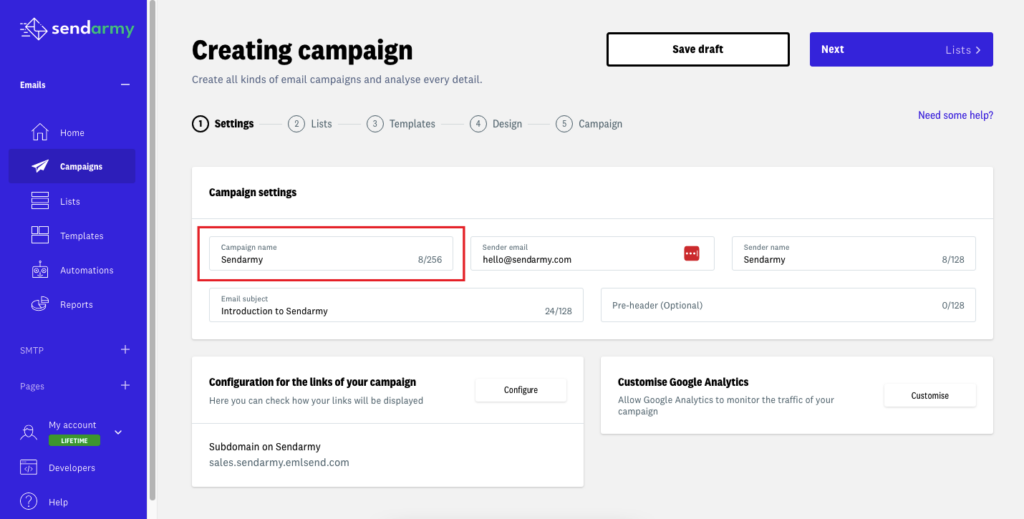
- Name of the campaign: This name will not be visible to anyone but you. Its function is to be able to organize you internally.
- Email and sender name: This is the email and name that your campaign recipients will see. They are completely customizable.
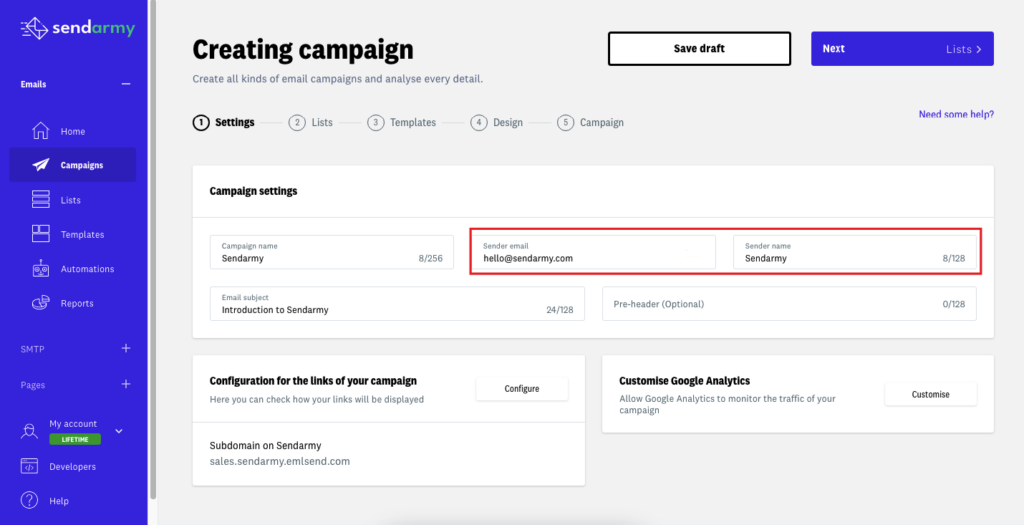
In some cases, if this is the first time you have entered the sending email, a pop-up may appear informing you that you must verify yourself as the owner of the email provided. Click Send verification email, and you will receive an email in that email with two options:
- Click on the link that you will find in the email.
- Enter the code you received in the email inside the pop-up.
- Email subject and preheader: These are what the recipients or subscribers will see of your campaign. The preheader is a short text in the email inbox below the subject.
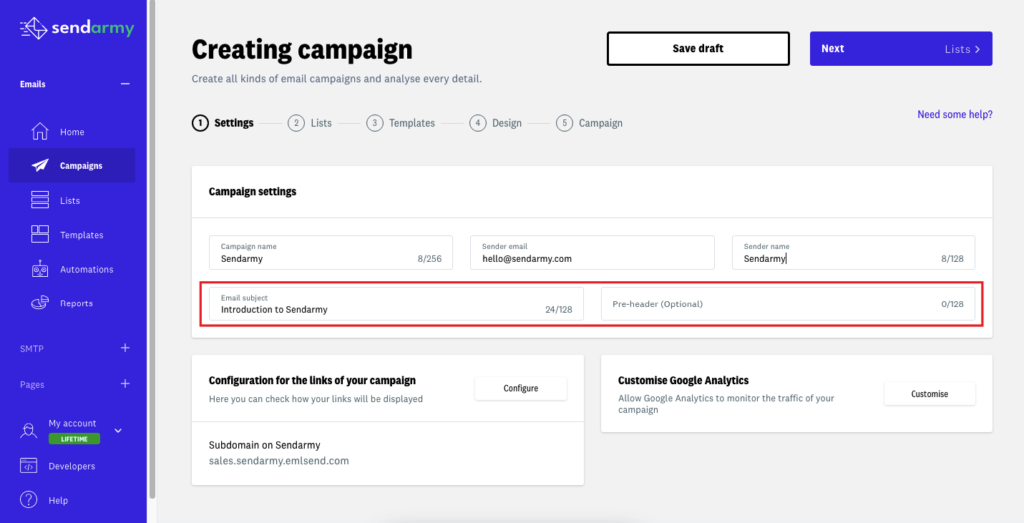
Here’s an example of what a subject and a preheader look like:

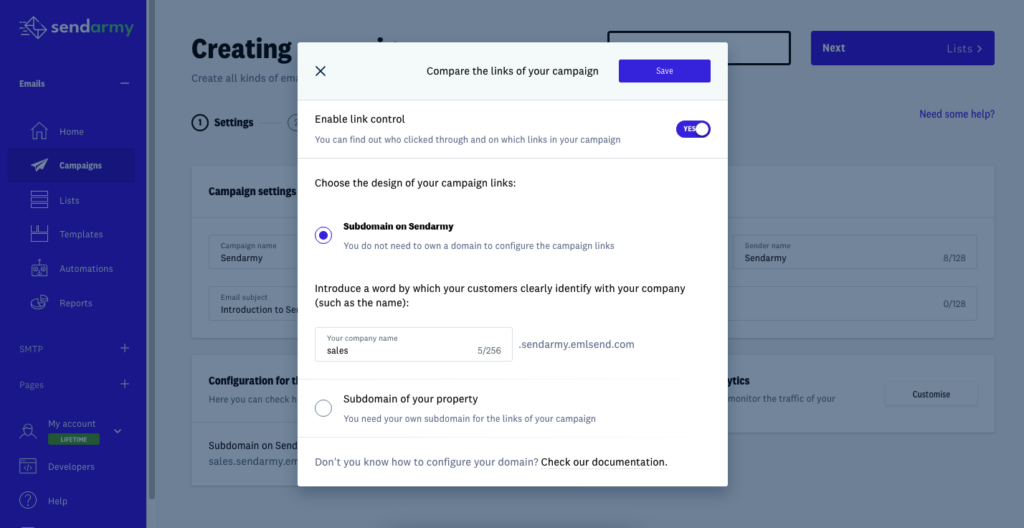
- Configure the links in your campaign and whether or not you want to track clicks on links within the email.
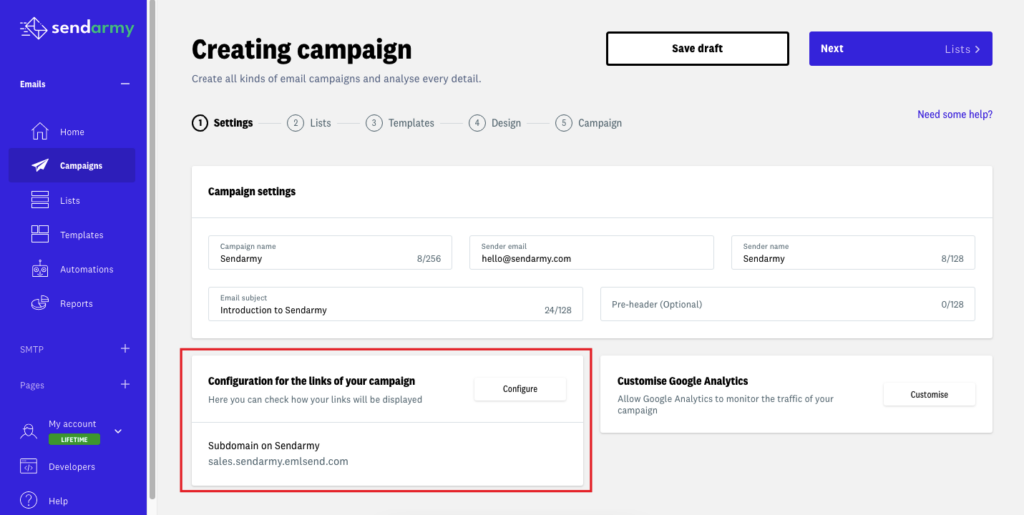
You can customize the links of your campaign with your own domain or subdomain (so that the system’s default one does not appear). To do this, you will first have to configure it.
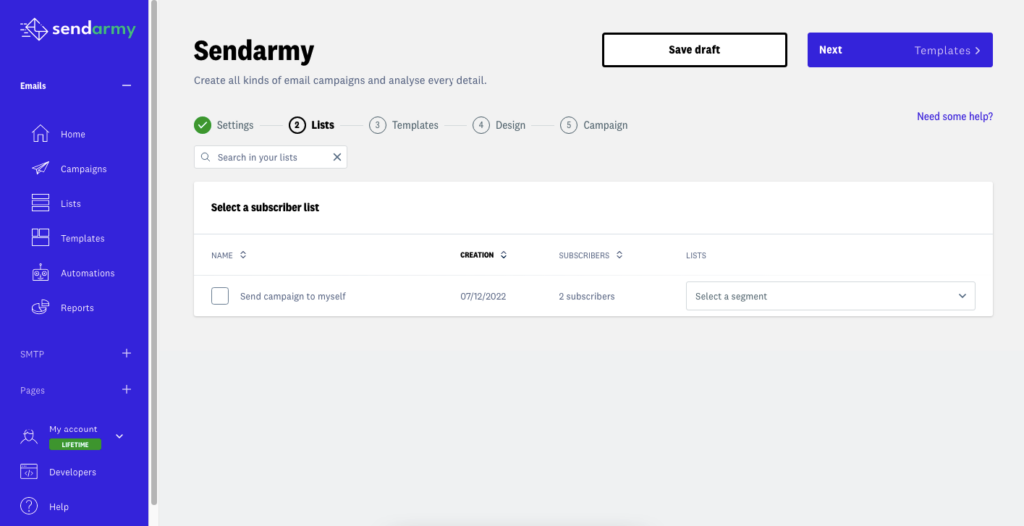
Step 2: Subscribers
You can send a campaign to a single subscriber list or multiple lists.
You can also send it to a specific segment (subgroup) within a list. You can select a segment from the list created previously or on the fly.
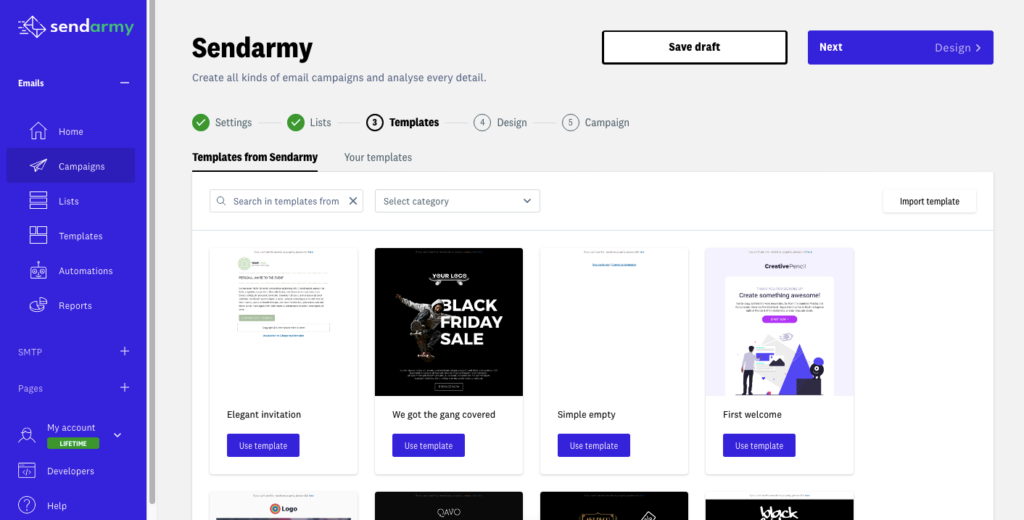
Step 3: Templates
In this step, you can define the visual appearance of the email the subscribers you selected for the campaign will receive. To do this, you have different options:
- Select one of the more than 860 default templates, fully customizable and responsive, available to modify from the template editor. You don’t need to know about code or design to edit them. In the next section, we explain how to modify one.
- Upload your own template in HTML format in the Import Template option. In this case, you have all the steps explained in this article.

Default templates
To use a Sendarmy template, which you can modify in the next step, you can access it in two ways:
- From My templates, you can select a template with which you have already worked previously
- From New templates, you can select one of our templates, filtering by category:
Choose the template you like best by hovering over it and clicking Select.
Next, a pop-up will be displayed with which you can enter the name you want to give the template (you will only see this to organize yourself internally), and you will now go to the template editor in step 4.
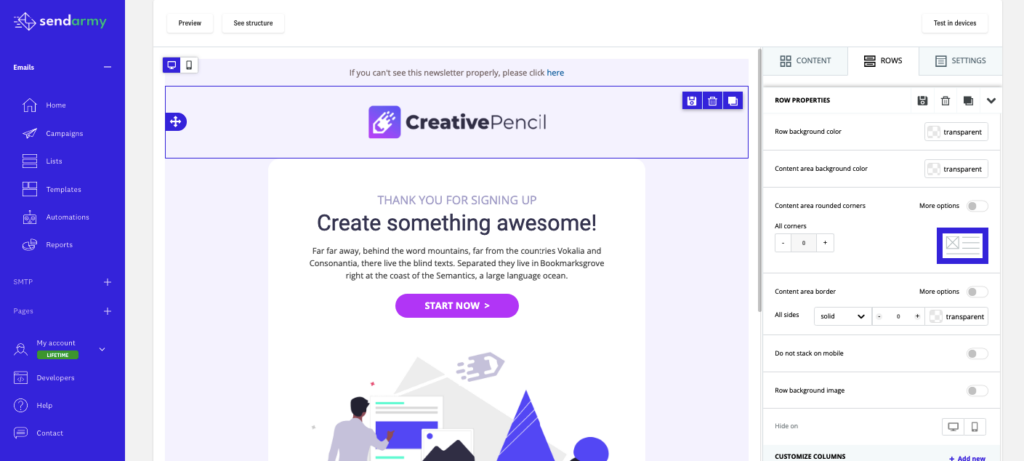
Step 4: Design
In this step, you will be able to edit the visual appearance of the campaign and its contents.
Predesigned template
The Campaign Editor interface will be displayed, a simple tool to comfortably change texts, images, and colors. Here you will find more information on how to handle yourself easily: email marketing template editor.
When you’re done customizing it, click Next.
If you have imported your own HTML
If you imported your own HTML template in the previous step, another editor would appear from which you can view your template and add the mandatory unsubscribe tag so subscribers can unsubscribe from your list and other tags you’ve defined earlier.
Keep in mind that this visualization will not be the final one and that to preview the appearance of your campaign, it is better to do it in the next step since in the current step, the edges of the tables will be shown.
Step 5: Summary
This will be the last step before sending your campaign.
Summary
In this section, you can review all the elements of the campaign and, where appropriate, edit them:
- Sender:

- Subject:
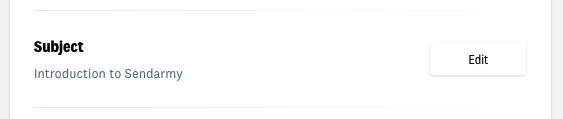
Remember that you can put personalized tags on your subject and email.
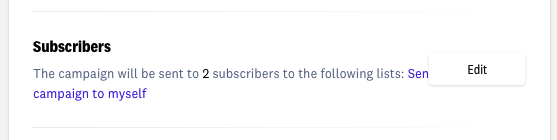
- Subscribers:
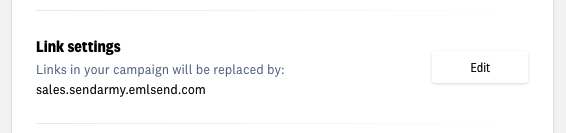
- URL customization of links: If you have modified advanced options in step 1, it is how you want the links in your campaign to be displayed:
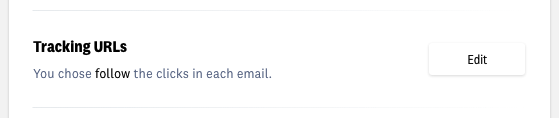
- Tracking URL: if you have activated tracking of the clicks that are made within your email or not:
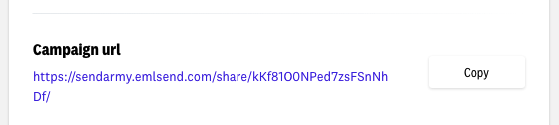
- Url of your campaign: The public link you can use if you want to share your campaign, for example, on Social Media. Also, if you double-click the minimized view of the campaign, you’ll be able to preview it:
Test your template on all browsers and devices
This option lets you see your template in the different browsers, devices, and mail clients where your subscribers can open it.
This way, you can ensure that it looks correct in all of them. Here you can find more information about this tool.

Automatic forwarding to unopen, more active hourly shipping, and quality of the campaign
Also, in this step, you have three tools that will help you get better results available for PRO and Enterprise plans:


- Forward the campaign to non-openers automatically after X days and with a different subject: activate it before sending the campaign. Forwarding will appear as a new campaign with the original campaign name plus “_no open”.
- Send each subscriber at their most active time. Through an algorithm, we know at what time of day each recipient usually opens your shipments (based on previous behavior with other campaigns).
- Check the quality of the campaign: This tool analyzes a series of parameters (DKIM/SPF configuration, analysis with SpamAssassin, analysis of whether there are broken links or not, and analysis of prohibited words that can activate anti-spam filters) that can have an impact on the deliverability of the shipment. Once completed, you will be able to see a score out of 10 and make the appropriate changes before carrying out the shipment.
Send the campaign
Once you’ve made sure everything is correct, you have three shipping options.
Submit a test

Clicking on this option will display a form with a field in which to enter one or more email addresses (separated by commas) and send the campaign. It’s a good way to make sure everything is working properly. You can submit as many tests as you want.
Schedule Send

You can schedule campaign sending for a specific date and time. Please note that the default schedule is based on Madrid (Spain) time (UTC +1). If you want to change the time zone, you can do so from My Preferences Account.
Once scheduled, the Schedule Send button will change status to Scheduled, and your campaign will be sent at the time you selected.
You can edit the schedule whenever you want (before the submission has been made).
If you want to change an already scheduled campaign, simply click Deprogram and then Cancel Send so that the campaign goes into editing state. You can make your changes and schedule it again without a problem.
Send campaign
You can start sending the campaign instantly by clicking on Send campaign Now. When you click, a pop-up will jump to confirm the action, and if you accept, the campaign will start sending at that very moment.
ATTENTION: This step is irreversible, and you can only cancel or cancel the shipment once it starts to be sent if you contact our support team as quickly as possible. Even if you delete the campaign, it will continue to be sent.
Check out reports
Once the sending of the campaign begins, you will be able to consult the reports of the campaign in real-time.