Create and Publish Landing Pages
In the Pages section of the platform, you can easily create, design, and publish landing pages for your email. In this article, you will be able to learn all the steps for it.
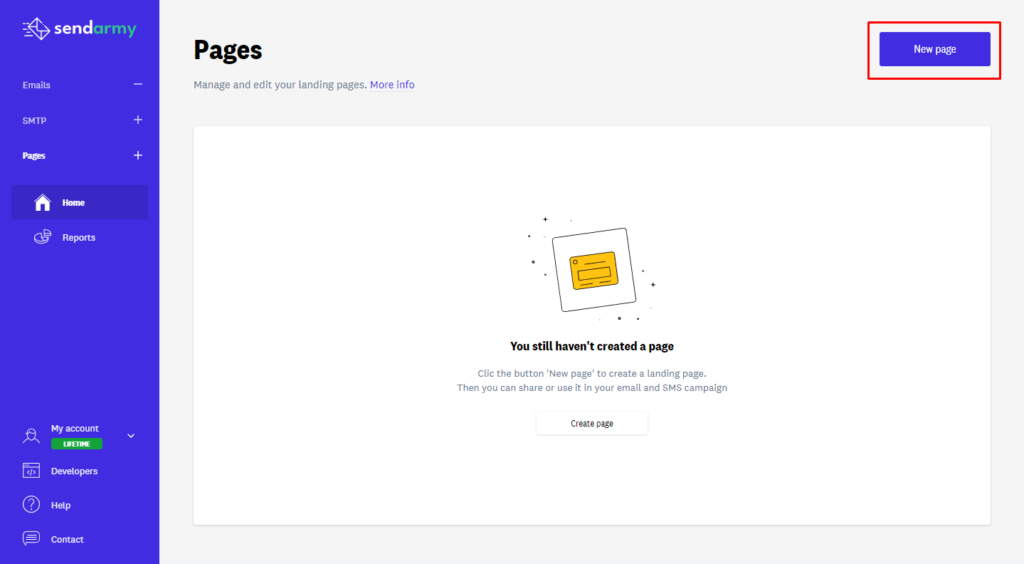
Create a new landing page
In this section, you will find the button to create a New page.
Select template
Select one of our fully customizable responsive design templates, or start with a blank one to create your own design from scratch.

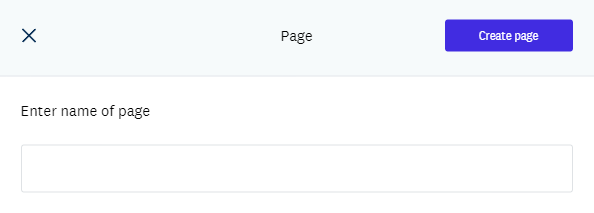
Once the template is selected, you’ll need to create a title for your new page. This title is only for your internal management and will not be visible to your recipieints.
Page settings
In the next section, you will find the general settings of the page.
The Title and Description sections will be used for meta tags.
Share the page
Here you will see the URL of the page and a button (Activate page) to publish or hide it.
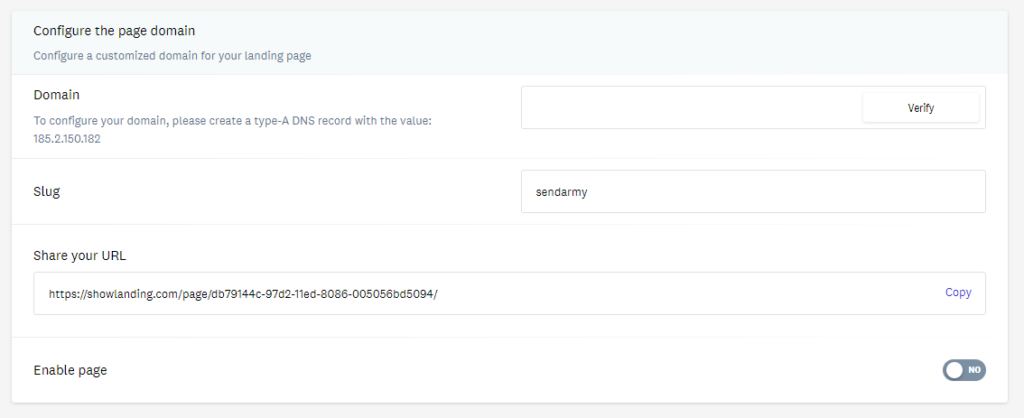
If you have availed of any of the paid plans, in this section, you will also have the option to verify your domain to customize your landing page URL.
To do this, you will have to create an A record in your hosting provider (where you have acquired your domain) with the value 185.2.150.182 to be able to verify its ownership:

Design the page
Finally, you can modify the template’s design with a Drag & Drop editor similar to the one used to edit email templates, which guarantees a responsive design and correct HTML without needing prior knowledge about it.
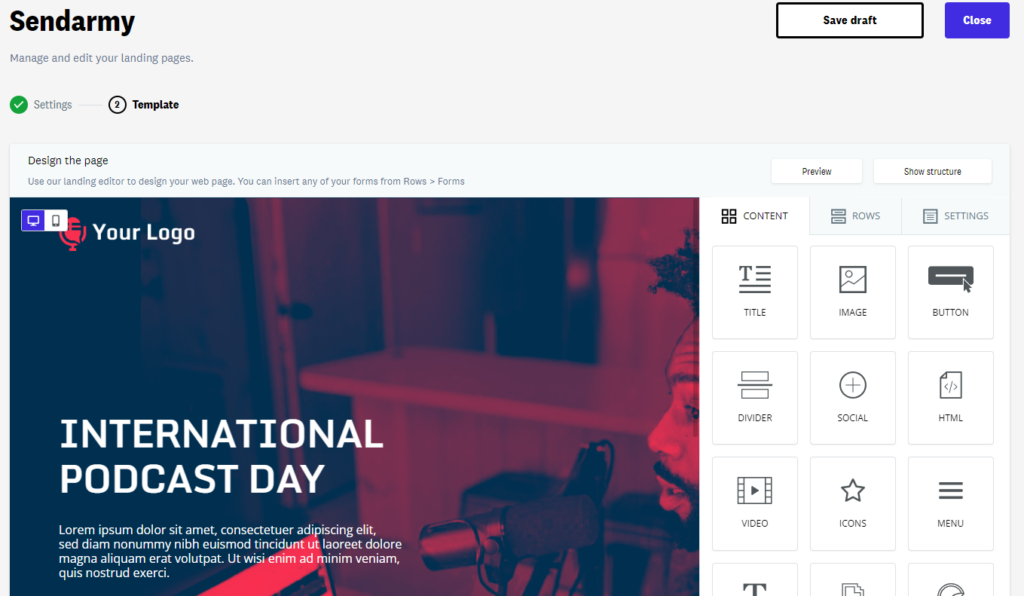
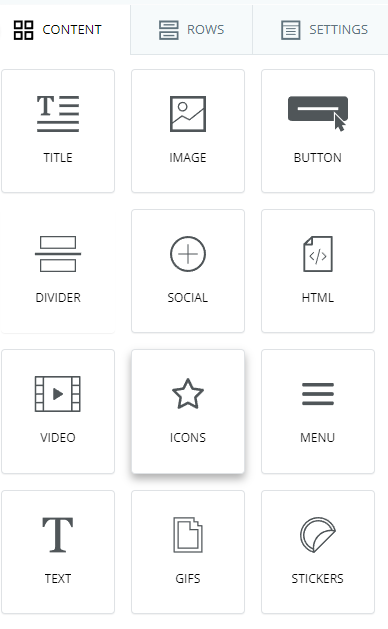
Content
In the Contents section, you can add the different content blocks you need for your Page, including title, text, images, buttons, separators, Social Media buttons, custom HTML code, video, stickers, and animated GIFs.
You just have to drag the block you need to the editor and modify it as necessary. Regarding images, stickers, and GIFs, our editor has an internal search engine so that you don’t have to leave it; you can search for content by keyword and add it directly.
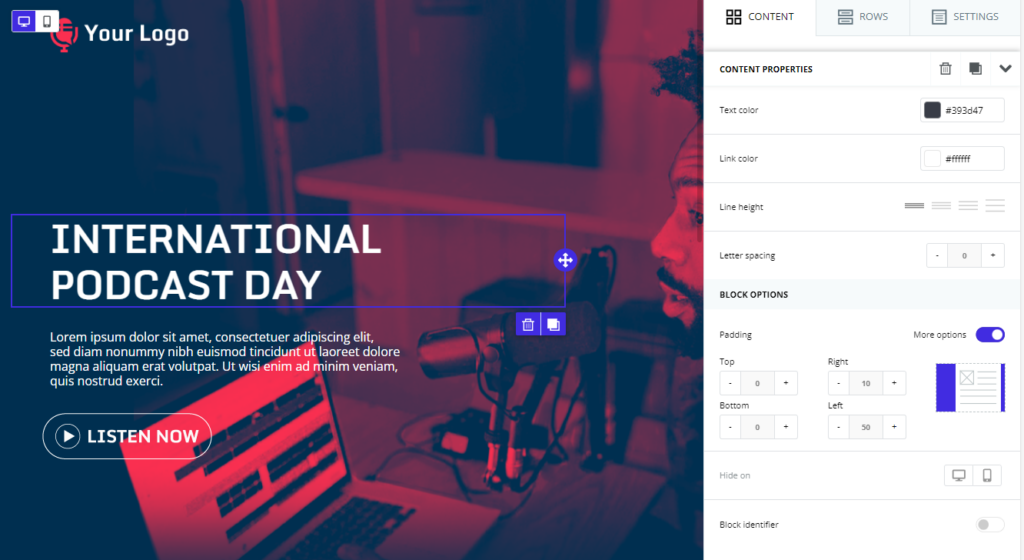
Also, if you double-click on any of the content blocks included in your landing page, in the menu on the right, at the bottom, you can add an internal link on the page. All you have to do is select the destination module and activate the Block identifier.
Then, double-click on the button where you want to add the link in Action> Type of link, select Internal link, and Scroll to the module to which you want to redirect.
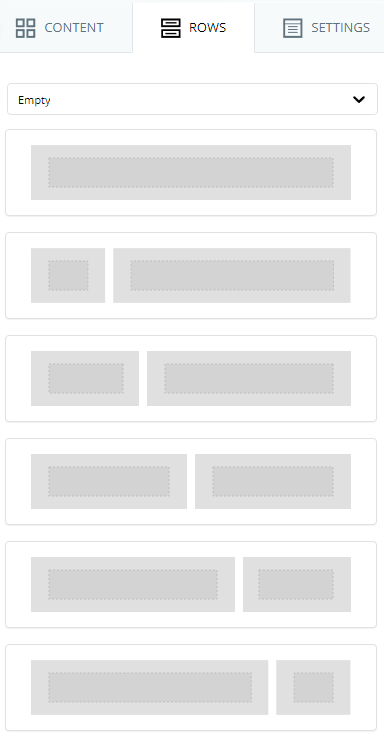
Rows
In the same way, as in the email template editor, you can modify the page’s layout through empty rows (only containing structures) or embed a series of predefined rows (with a series of contents distributed in a specific way) or reuse your own saved rows. For more details, see the homonymous section of the article on the template editor.
Insert a form
Likewise, in the Rows section, you can include a classic type form that you have previously created in a Sendarmy list.
Once you have the subscription form you want to add to the landing ready, you just have to click on the drop-down menu in Rows to select the Forms option (classic type only).
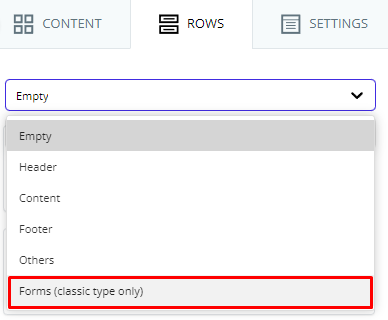
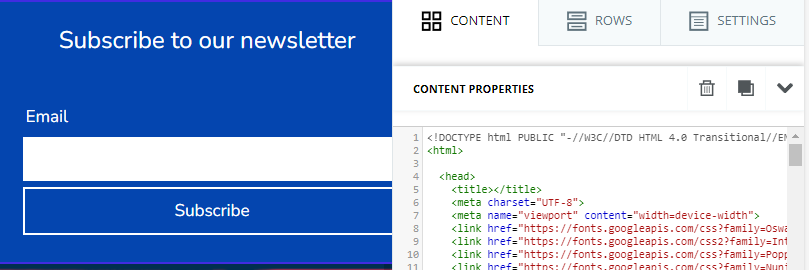
Next, select and drag where you want to include the form on your page. When users access your landing page and complete the subscription process, they will automatically be included in the Sendarmy list where you have created the form.
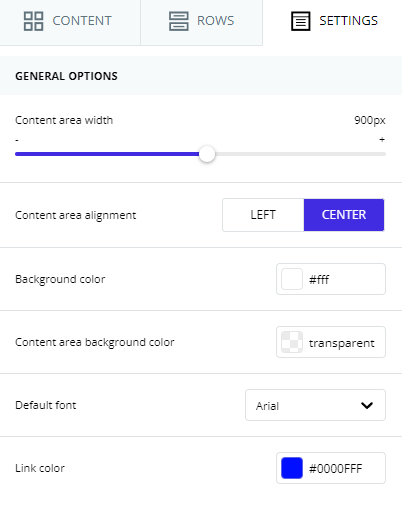
Settings
In this section, you can configure the general aspects of the page, such as the width of the content area, background colors, default font, or the color of the links.
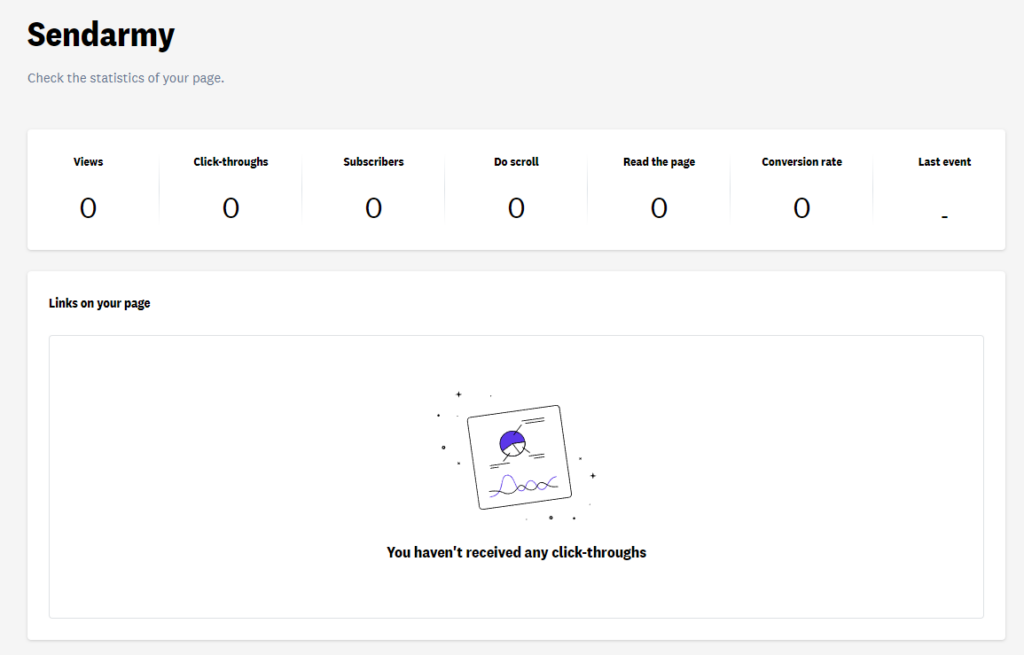
Check the reports
Once your landing page is public, you can check their reports in the Reports section within Pages. You can access the following information:
- Visits your landing page has received since you published it
- Total clicks that have been made on your page. Below you can see exactly which links have been clicked
- Subscribers: if you have embedded a classic form, times when a person has completed the registration
- Scroll: Times when your Page has been navigated
- Read the page: Times the page has been browsed (and at least more than 10 seconds have been spent on it)
- Conversion rate: The conversion rate for your Page. If you include a form, the subscription percentage
- Last event: the last time changes have been reported to your landing page